Prepare
-
Download clonezilla live (iso or zip file) from https://clonezilla.org/downloads.php or https://free.nchc.org.tw/clonezilla-live
-
Following the instruction to create USB boot
Clone local disk to remote computer disk
-
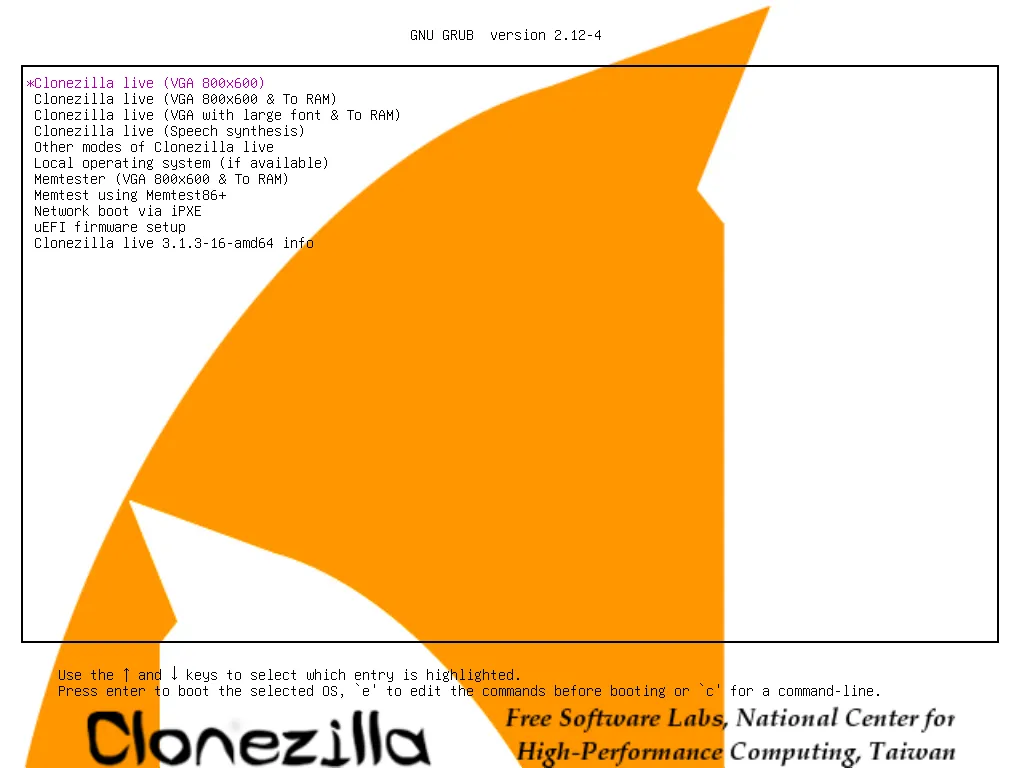
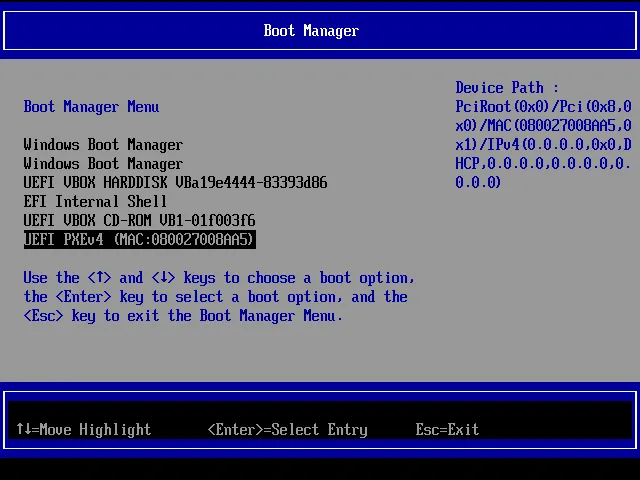
Boot from usb, choose 1st option
-
Choose default or what you want in next 2 step


-
Start
clonezilla-
Choose
Start clonezillato begin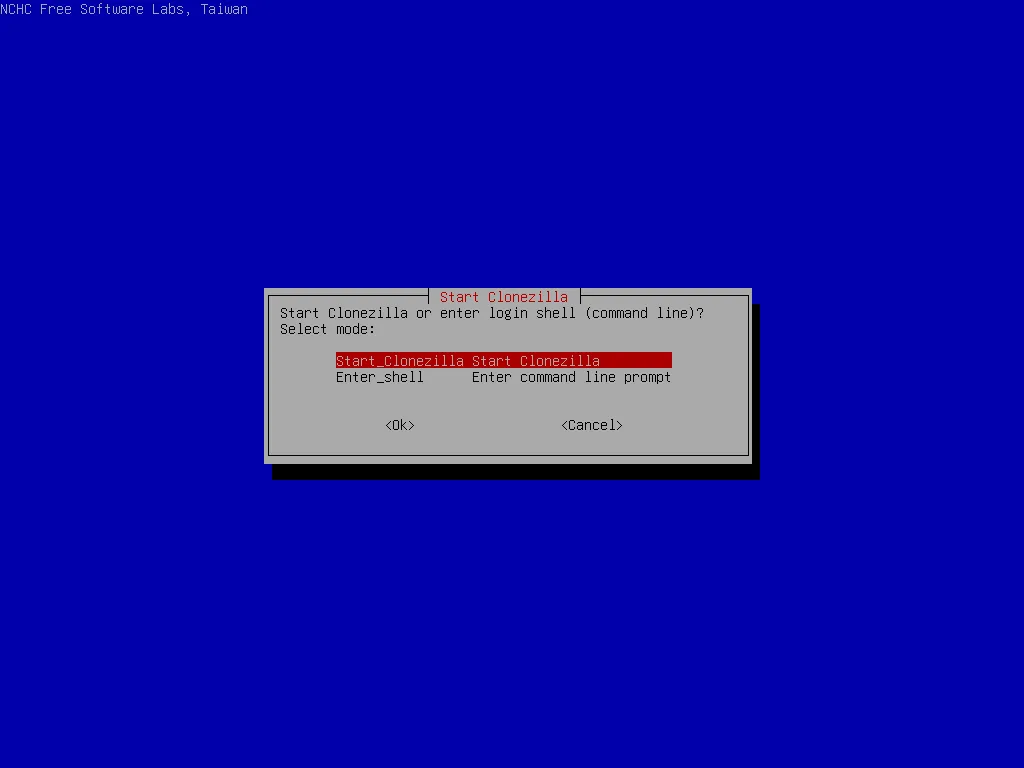
-
Choose
lite-serverto clone from local source to remote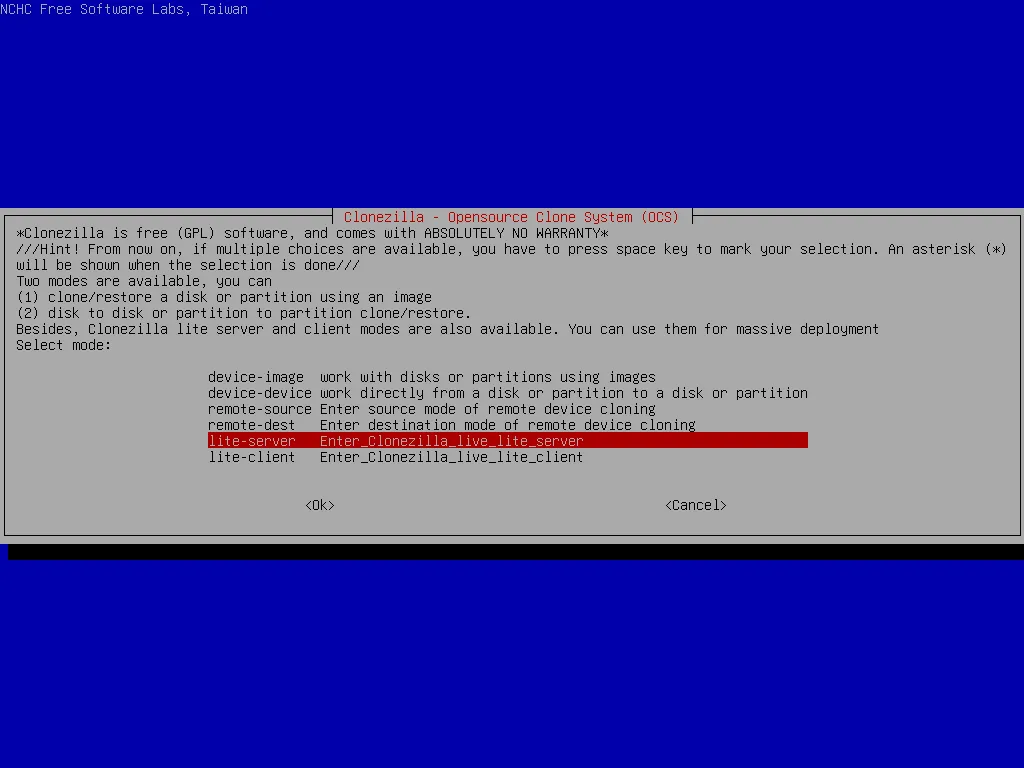
-
Choose
lite-server->startto clone from local source to remote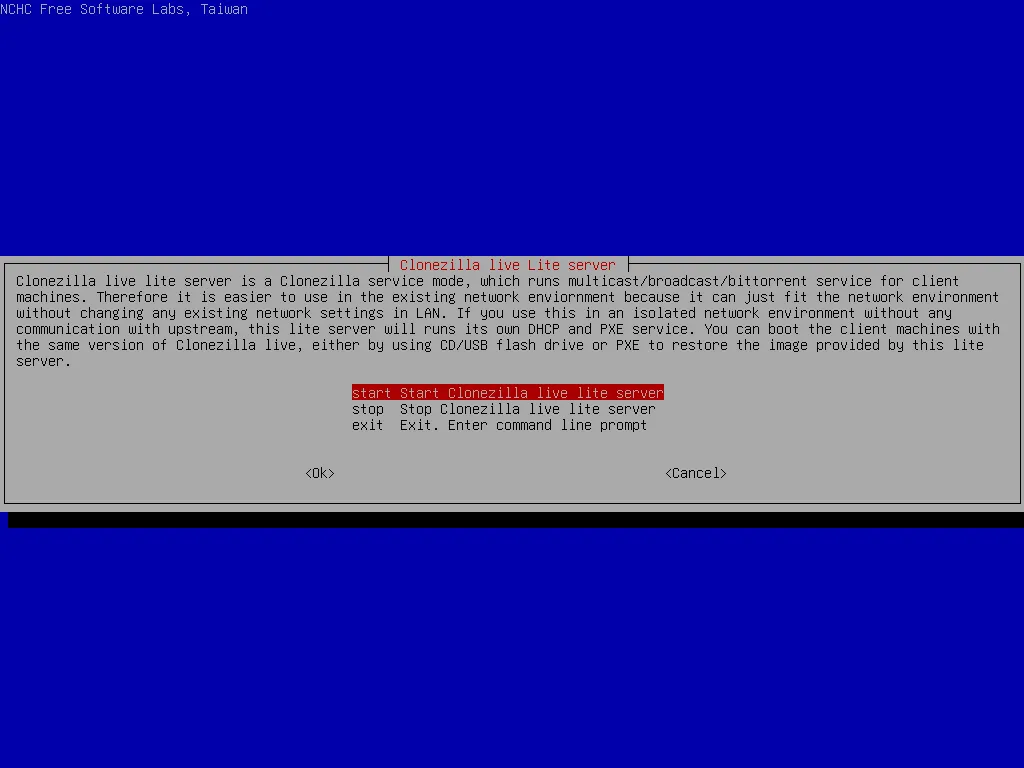
-
Choose
netboot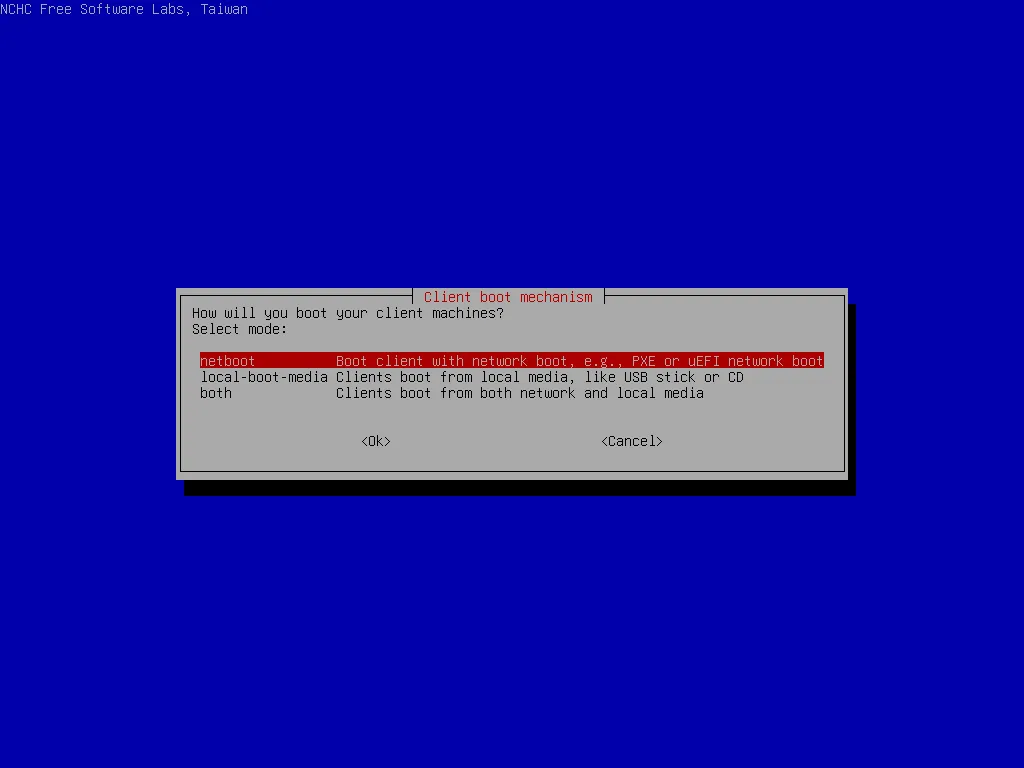
choose
use-existing-dhcp>dhcpif these is existing dhcp server in network.choose
start-new-dhcpdif there is no dhcp server, clonezilla will do itself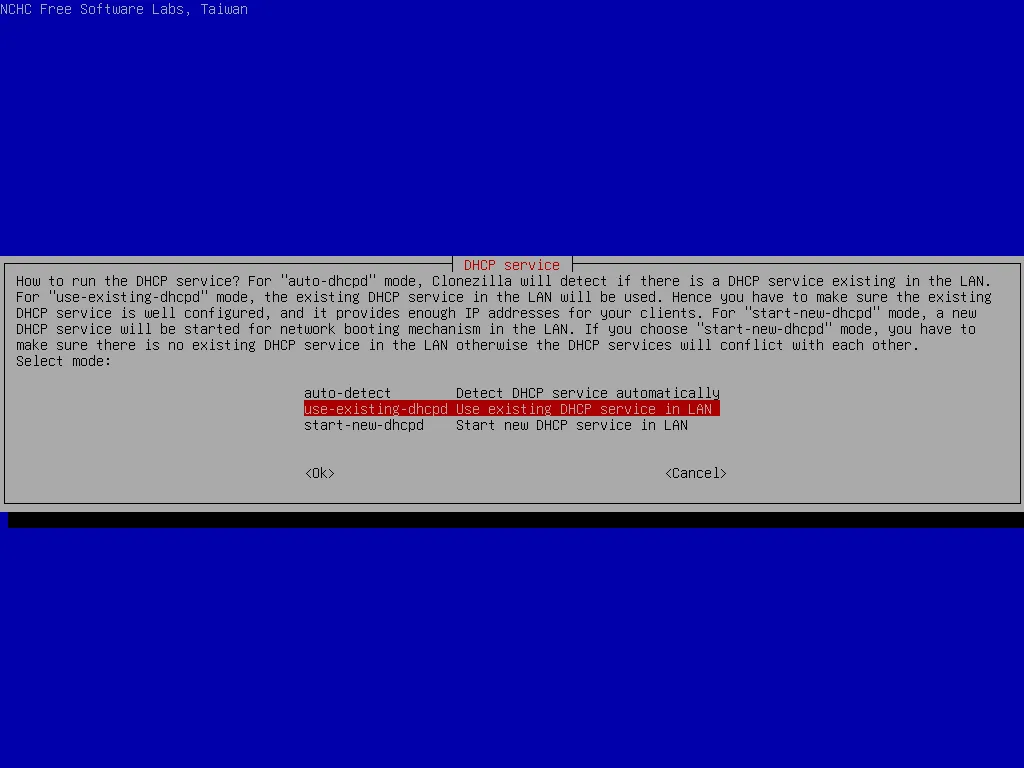
-
choose
localdevif you want to read image file to local disk.choose
skipif not (we chooseskipnow because we will clone from disk to disk later)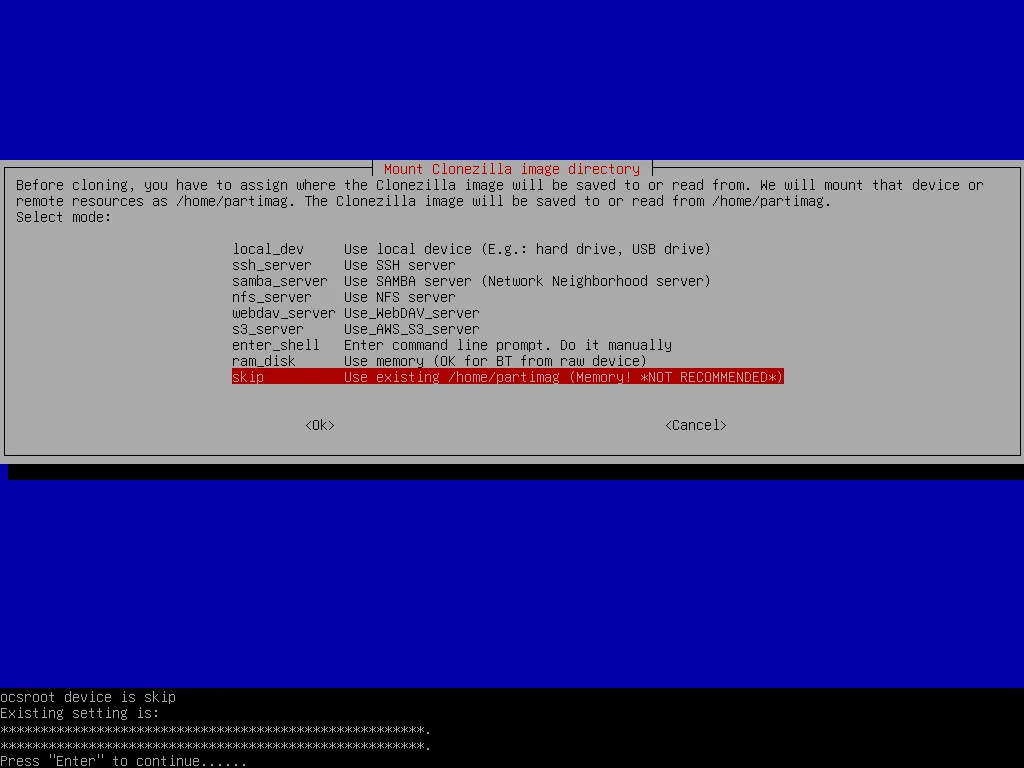
-
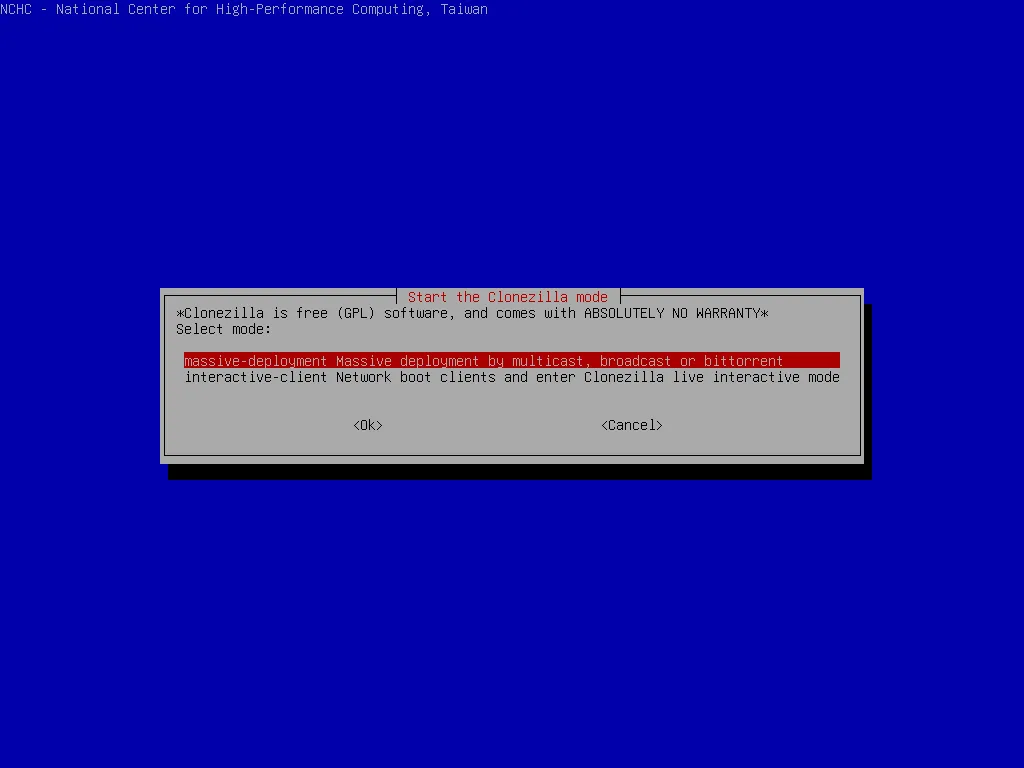
Choose
Expert>massive-deployment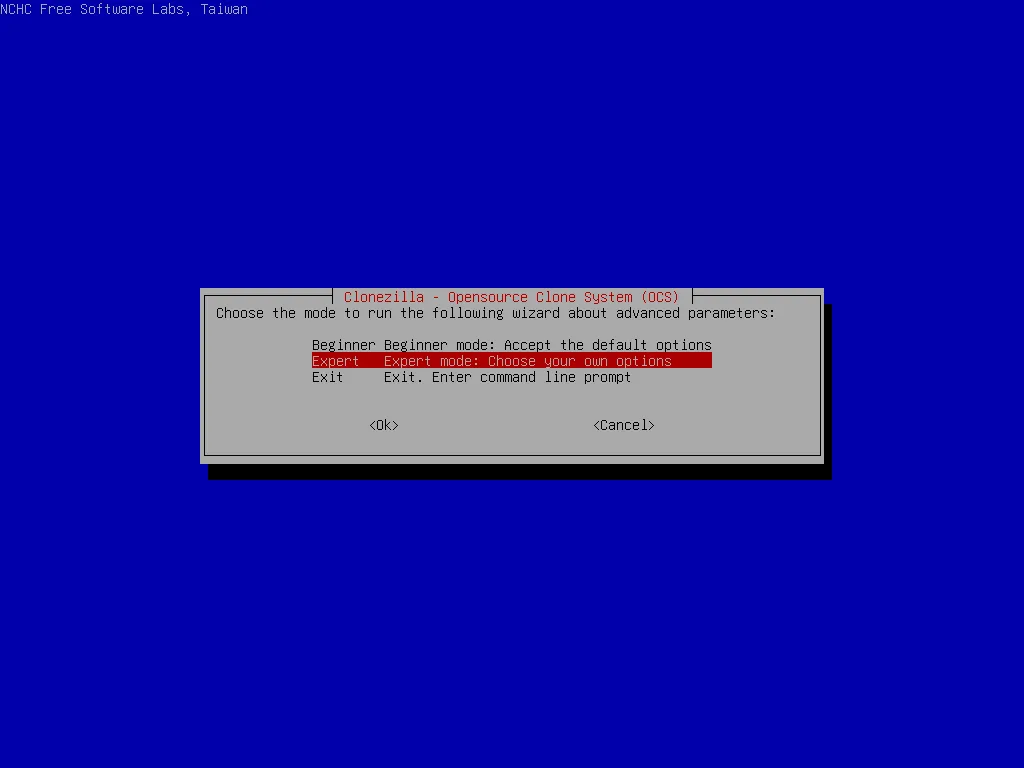
-
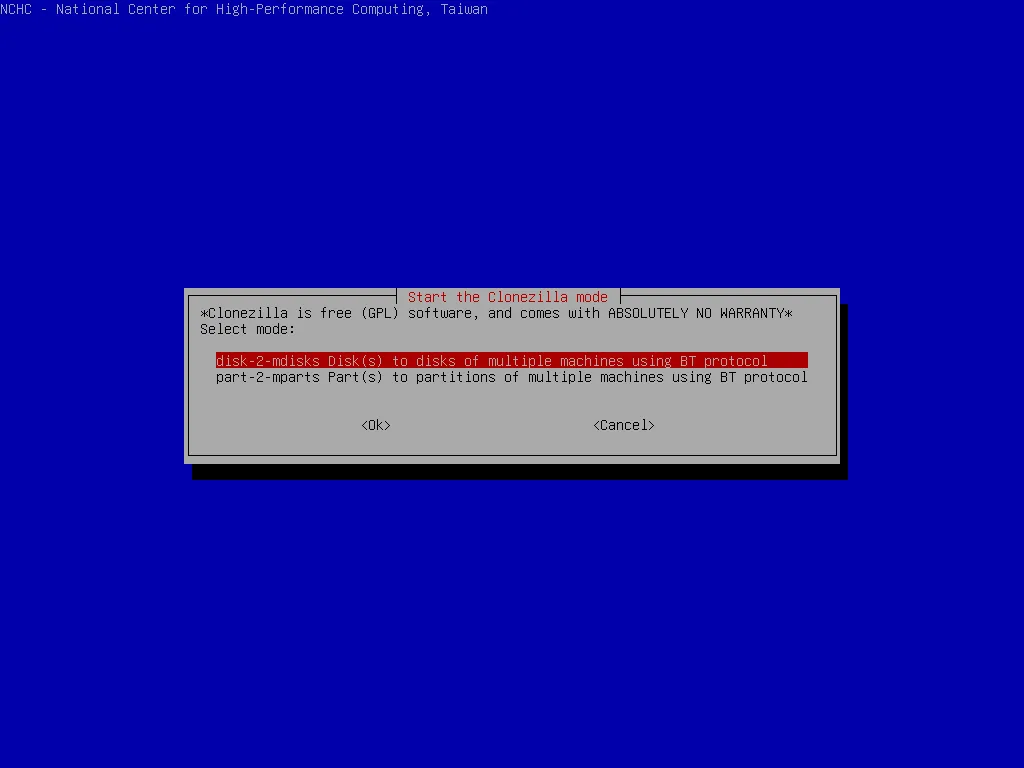
Choose
from-imageif previous step islocaldevChoose
from-device>disk-2-mdisks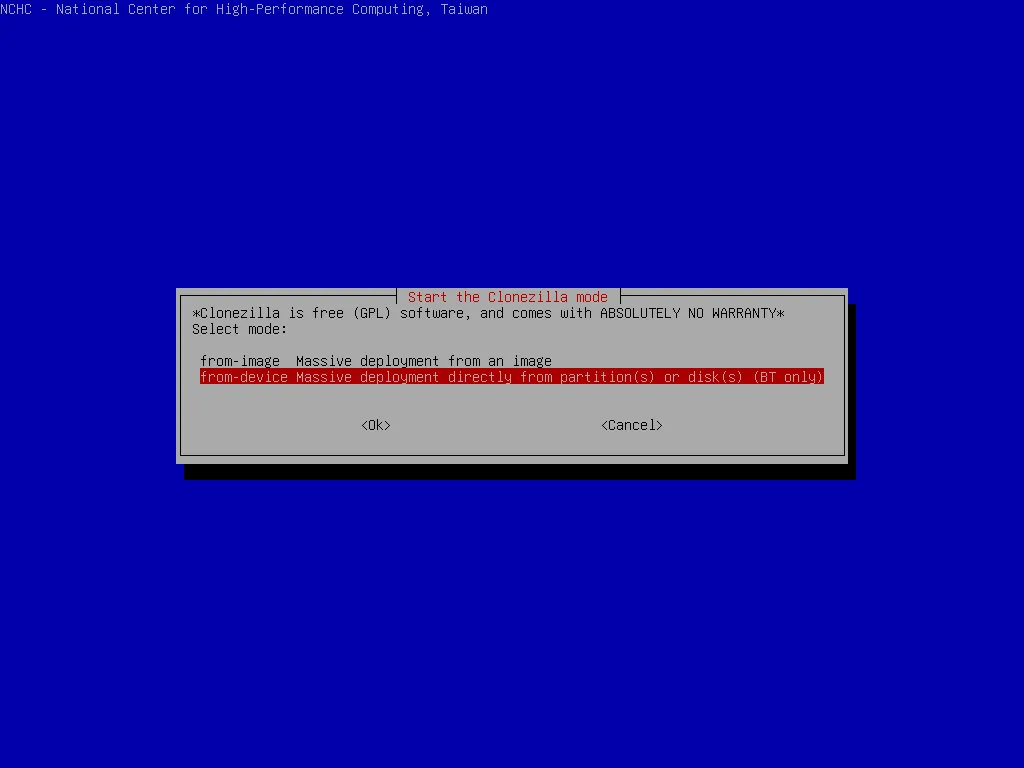
-
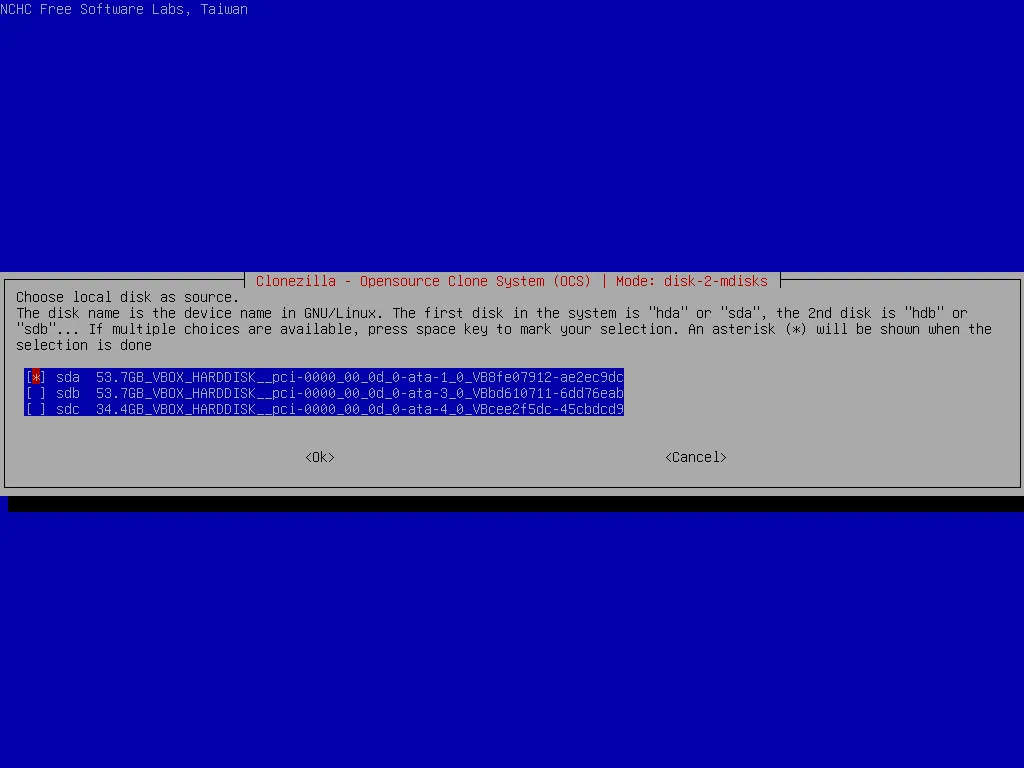
Choose source disk to clone to remote computer
-
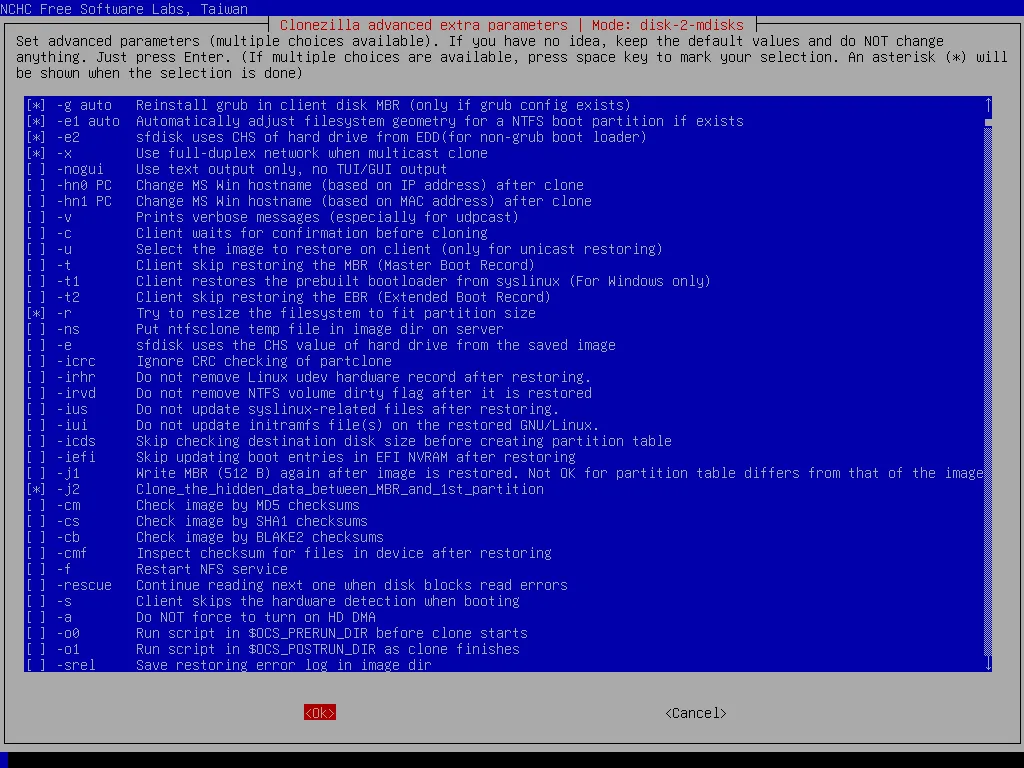
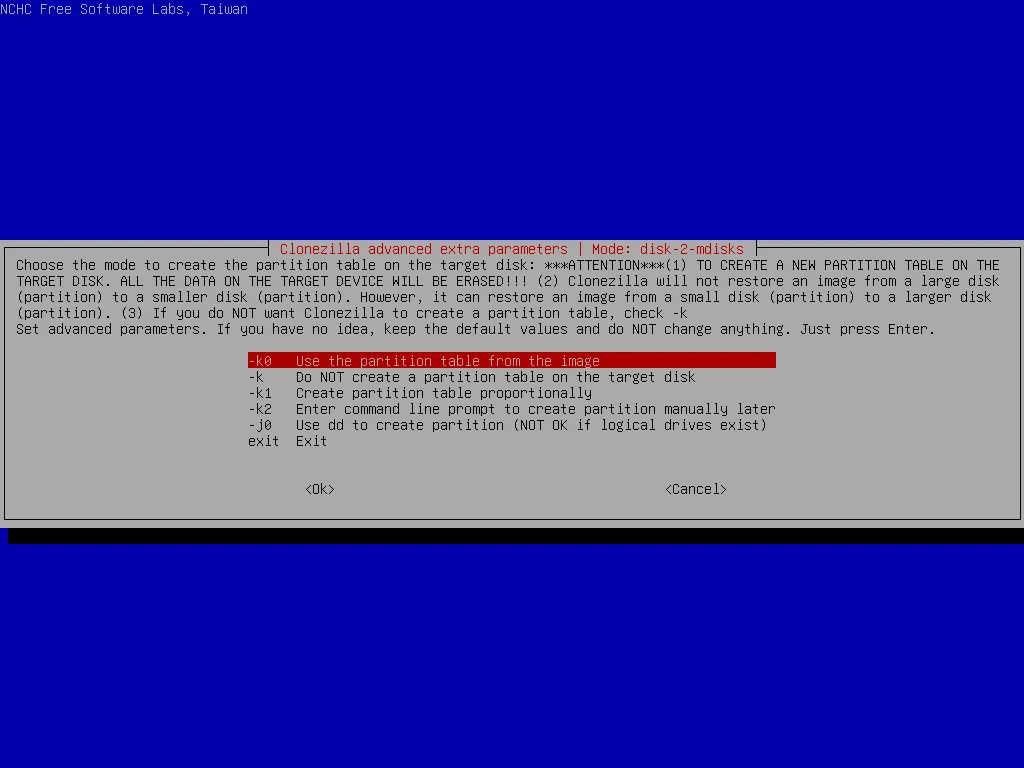
Choose options before start
-
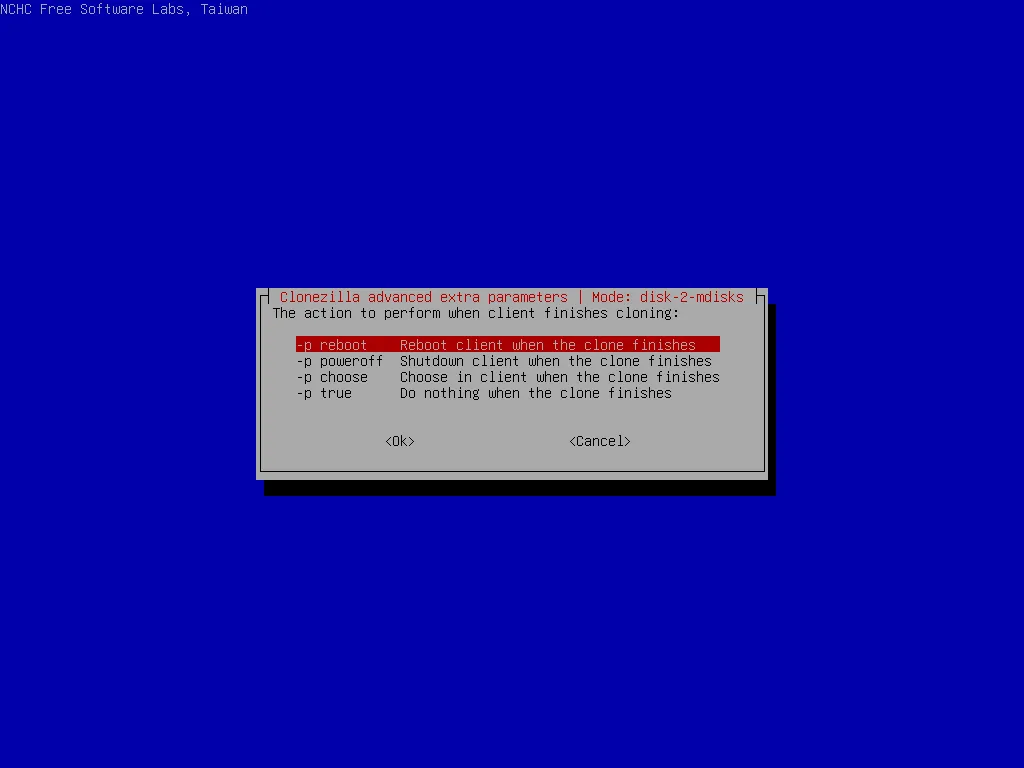
Choose what to do when done
-
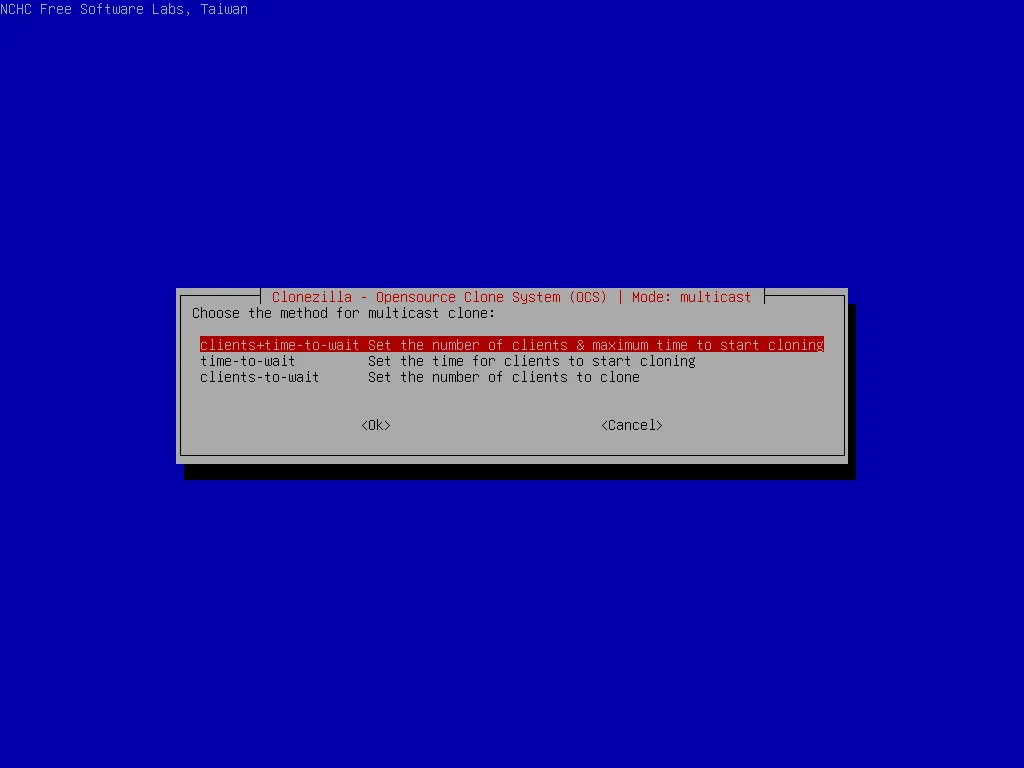
Choose
multicast>clients+time-to-wait
-
Enter
clients(number of clients will be clone)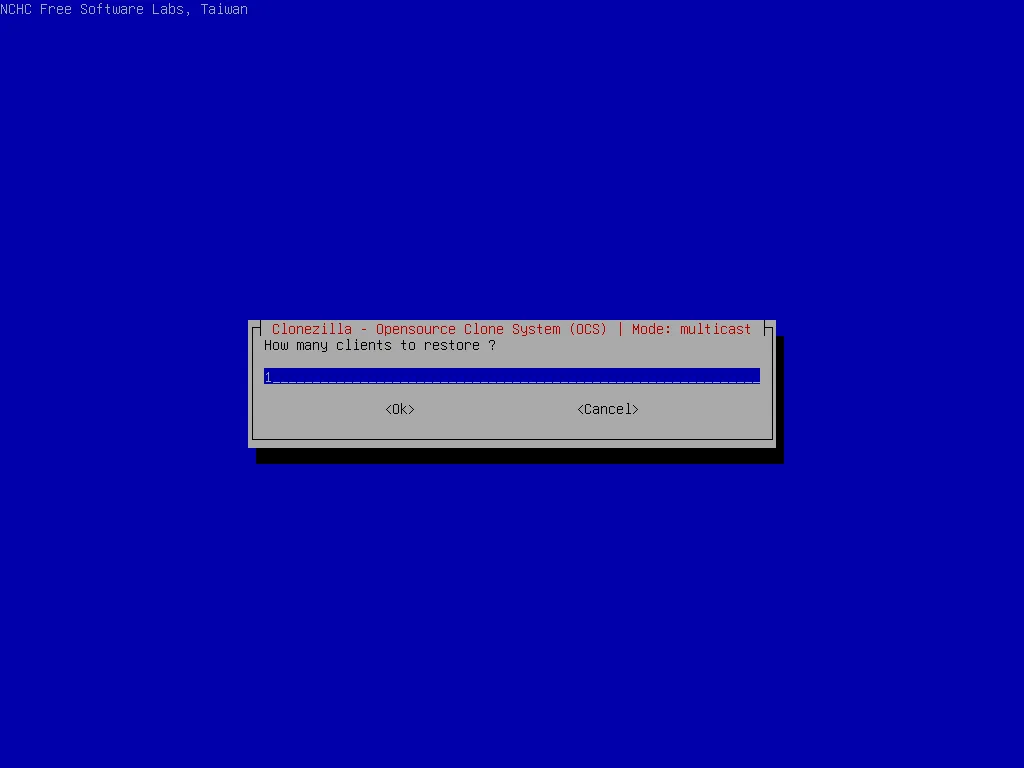
-
Enter
time-to-wait(waiting time befor start, even if clients is smaller than value in previous step)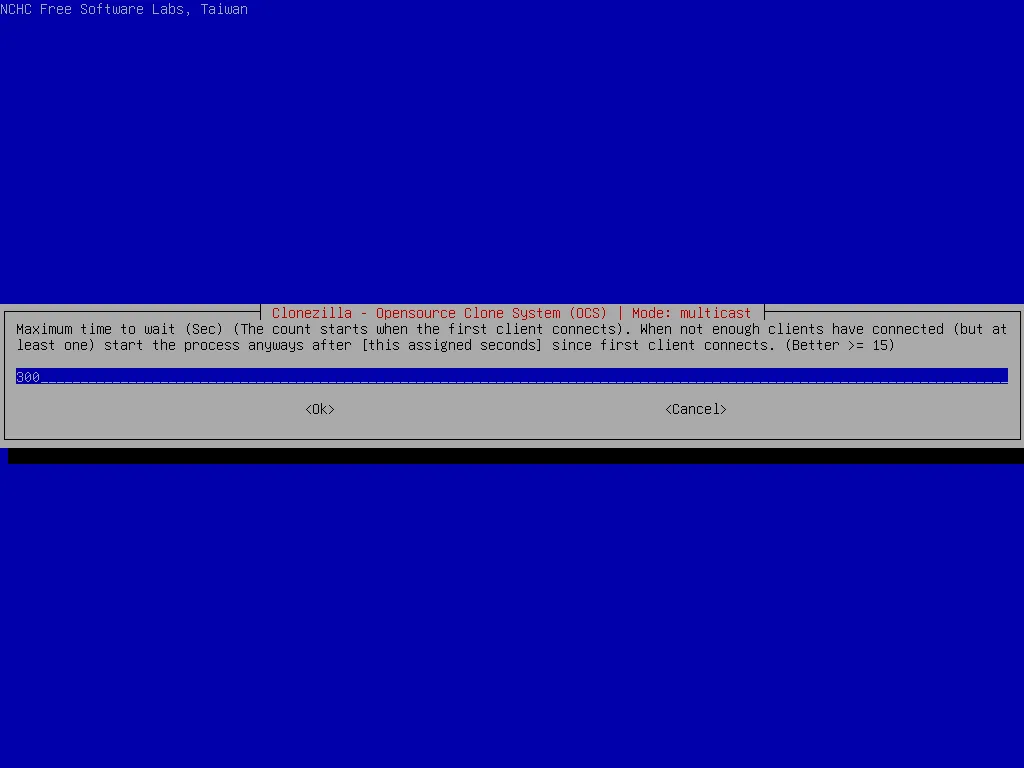
-
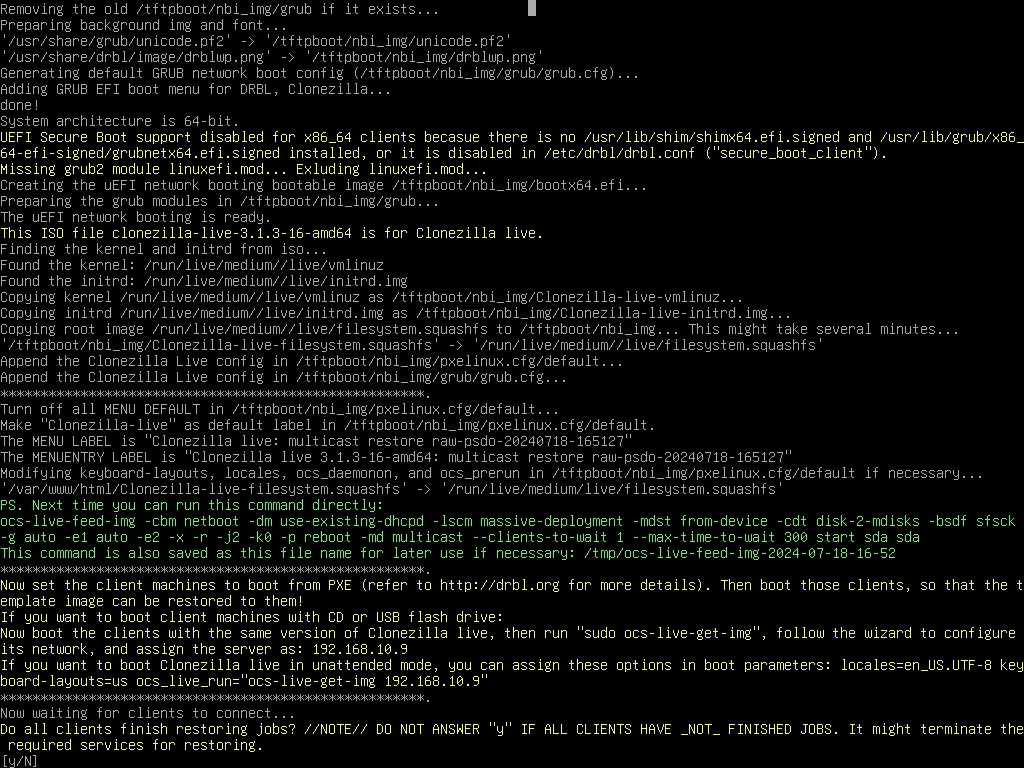
Clonezilla will be run as server
-
-
In remote computers
-
Boot from network (in the same network with clonezilla server)
-
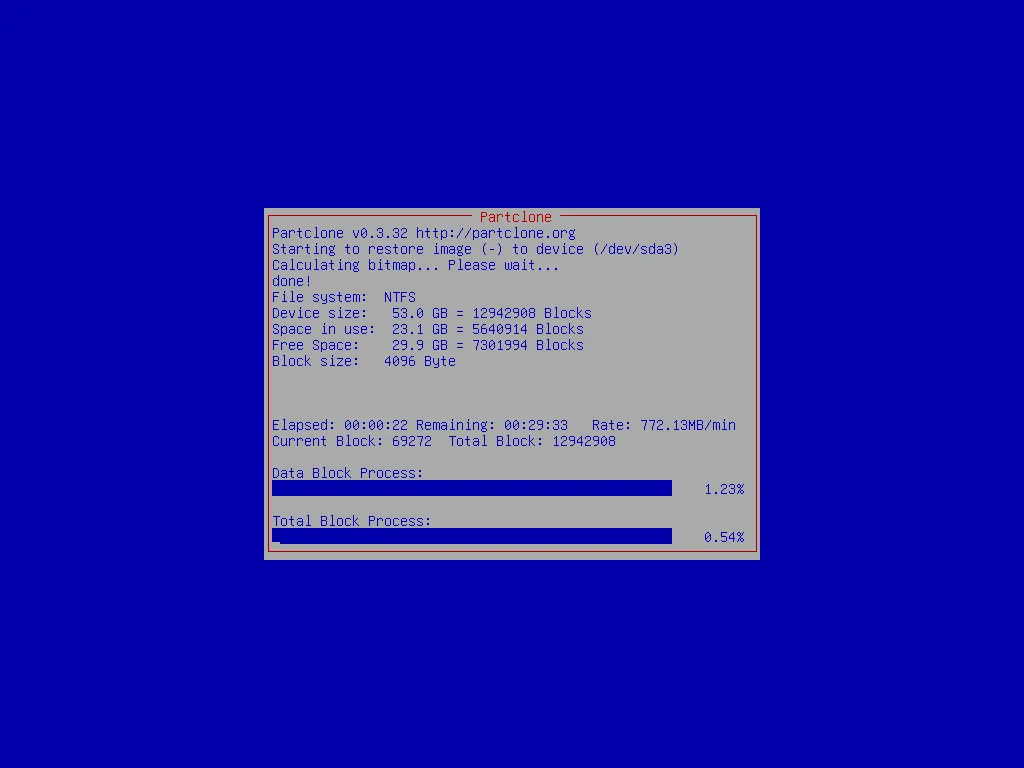
All action will be automatically run, when done, the computers will do the action we choose before (
reboot)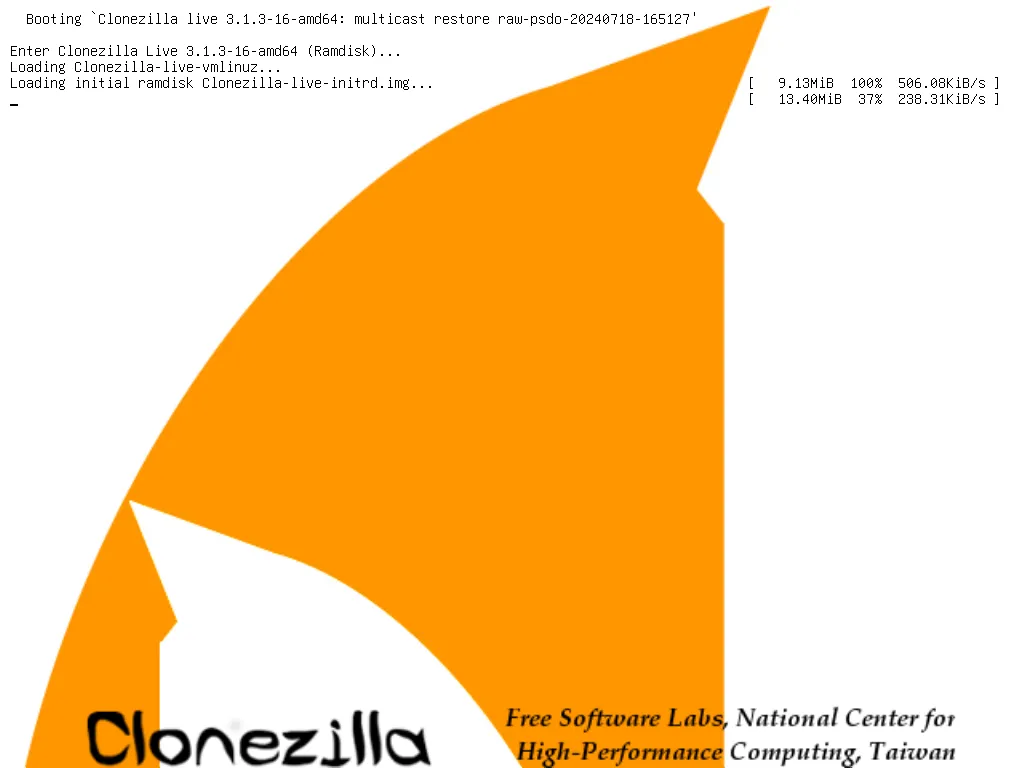
-
-
Shutdown clonezilla server by enter
y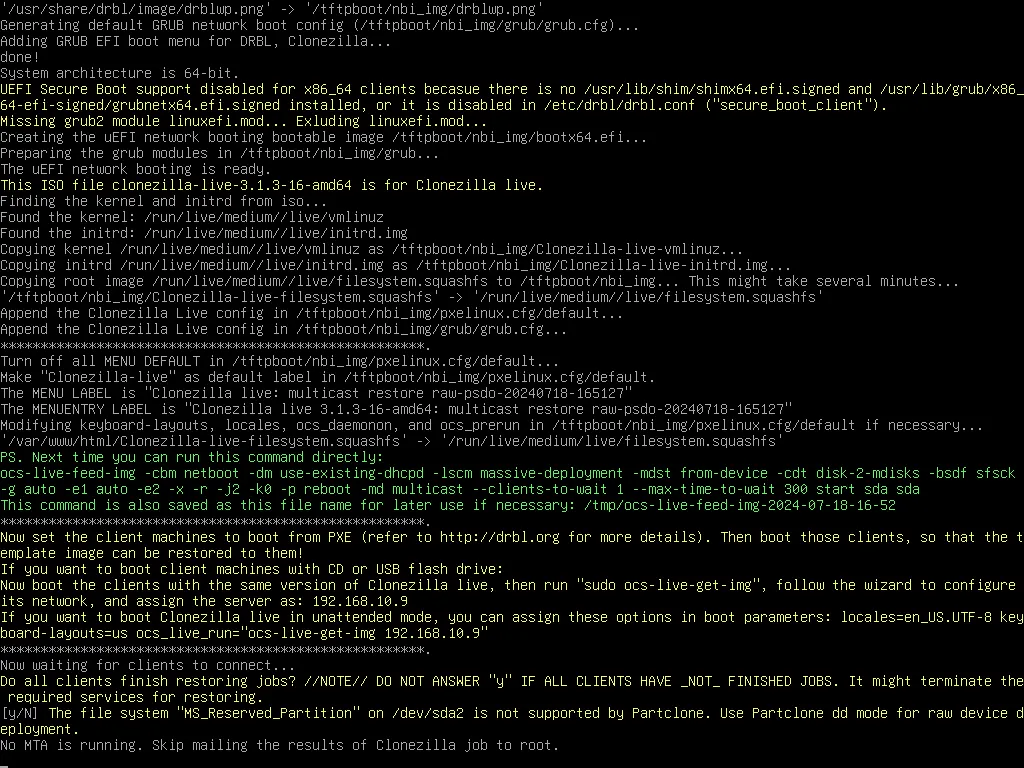
Create clonezilla live
-
After language and keyboard are selected, choose Start_Clonezilla -> device-image, then mount a working directory, the space should large enough to put the live CD and some temp files. It’s recommended to choose local*dev to mount local partition as */home/partimag_
When Clonezilla live asks you to choose save or restore disk/partition, choose exit to enter command line prompt
-
Run these command
sudo -i

# configure the network to update package
ocs-live-netcfg

apt-get purge drbl clonezilla
apt-get update

apt-get -y install drbl clonezilla

apt-get -y install live-build

cd /home/partimg

# create debian iso template to create clonezilla in next step
create-debian-live -d sid -i mt

# create iso file
ocs-iso -s -x quiet -j debian-live-for-ocs-mt.iso -i mt -k NONE -g en_US.UTF-8

# create zip file
ocs-live-dev -s -x quiet -j debian-live-for-ocs-mt.iso -i mt -k NONE -g en_US.UTF-8
Referrences:
-
https://clonezilla.org/create_clonezilla_live_from_scratch.php
-
https://github.com/stevenshiau/clonezilla/blob/master/sbin/create-debian-live
-
https://github.com/stevenshiau/clonezilla/blob/master/sbin/ocs-iso
ssh to clonezilla
-
Run step 1 in Create clonezilla live
-
Start ssh service in clonezilla
sudo -i # configure the network ocs-live-netcfg # start service service ssh start service ssh status -
Connect from client
# connect to clonezilla and enter password 'live'
ssh user@[ip of clonezilla]

# after connect run command
sudo -i
...
Referrences: